Here’s a super quick and easy tutorial for how to create your own link page for your Instagram bio!
As you may know, Instagram only allows you to put one URL to your bio, which isn’t the most handy thing if you have a variety of different offerings to share!
You may be wanting to include a bunch of different links, such as:
- Email list sign up
- A booking calendar
- Your website
- Your Facebook page
- A freebie or PDF download
- An online store
(You get the picture)
Now – there are already a few options out there for linking multiple URLs to your Instagram bio! However, most of these platforms require a paid plan to get rid of the company’s branding or logo. Here are a few examples of commonly used ones:
All very handy options, but again – you may need to pay for a subscription in order to make these platforms work for your branding.
Here’s a quick and easy alternative for Squarespace users who are looking to create a clean, customized, and free link page for their Instagram bio.
This tutorial is geared towards Squarespace 7.1 and does require some very basic coding or custom css.
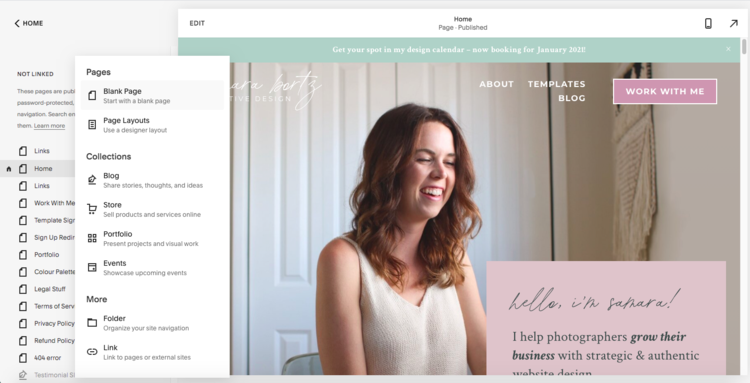
STEP 1) CREATE A NEW PAGE IN THE UNLINKED SECTION OF YOUR BACK-END EDITOR
Call the page something like “links” or “Instagram” and make sure the URL is named something that you would like to show up in your Instagram bio. For example, mine is samarabortzdesign.com/links.
STEP 2) USE CUSTOM CSS TO HIDE THE HEADER AND FOOTER
In Squarespace 7.1, you need to use a little bit of code in order to create a landing-style page that doesn’t show your header or footer navigation. This is easy enough to do! All you do is drop a code block into the page and copy this code into it.
<style> .header, footer {
display: none !important;
} </style>
This will hide the header and footer, but only on this one specific page, rather than on all of your pages.
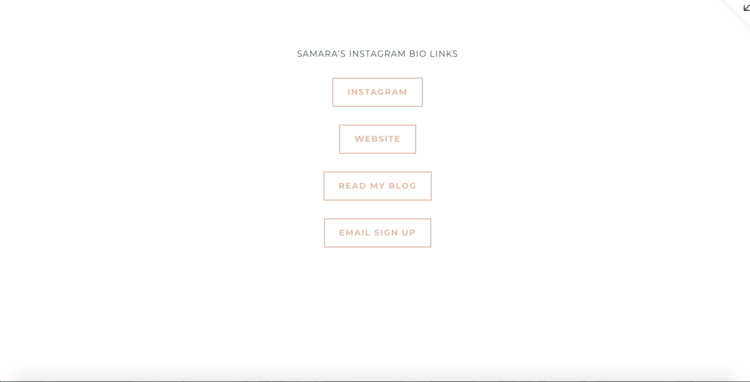
STEP 3) INSERT BUTTONS AND LINK THEM TO YOUR VARIOUS WEB PAGES
Next, you’ll want to insert a column of different buttons and link each button to the website or URL you’d like included in your Instagram bio.
Optional: you can add a title above the buttons!
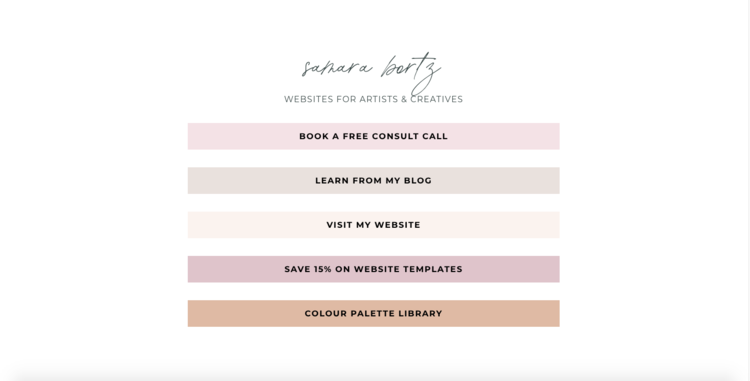
STEP 4) CUSTOMIZE THE BUTTONS (OPTIONAL!)
You may want to change the colours of your buttons, which you can do in the “color style editor” in the design panel. If you want help using custom css to style each of the buttons individually, Inside the Square is a great resource!
Here’s an example of my customized link page:
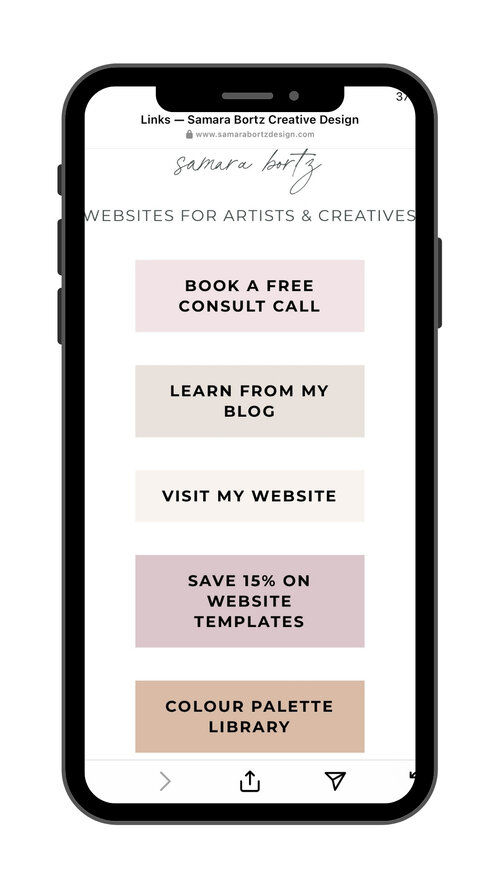
STEP 5) LINK THE PAGE TO YOUR INSTAGRAM BIO
The last step is to take your new link page and stick it in the website section of your Instagram bio! It will look something like this:
That’s it! A very quick and very easy alternative to using Linktree or Milkshake for your Instagram bio. Perfect if you already have a Squarespace website.
Try the tutorial and let me know what you think!
+ view the comments